
Groups in Gravity Pipeline Pro let you organize your team members into logical units — departments, regions, or service teams — and filter pipeline views by group. This is especially useful for larger teams where each group manages their own slice of the pipeline.
Creating a Group
- Go to Forms > Gravity Pipeline > Team Settings (or the Groups section in pipeline settings).
- Click Add New Group.
- Enter a group name (e.g., “Sales Team West” or “Commercial Lines”).
- Click Save.
Adding Members to a Group
- Open the group you just created.
- Use the Add Members dropdown to search for and select WordPress users.
- Click Save Group.
A user can belong to multiple groups.
Assigning a Pipeline Entry to a Group
- Click any card on the board to open the detail panel.
- Find the Group field.
- Select the group responsible for this entry.
- Save.
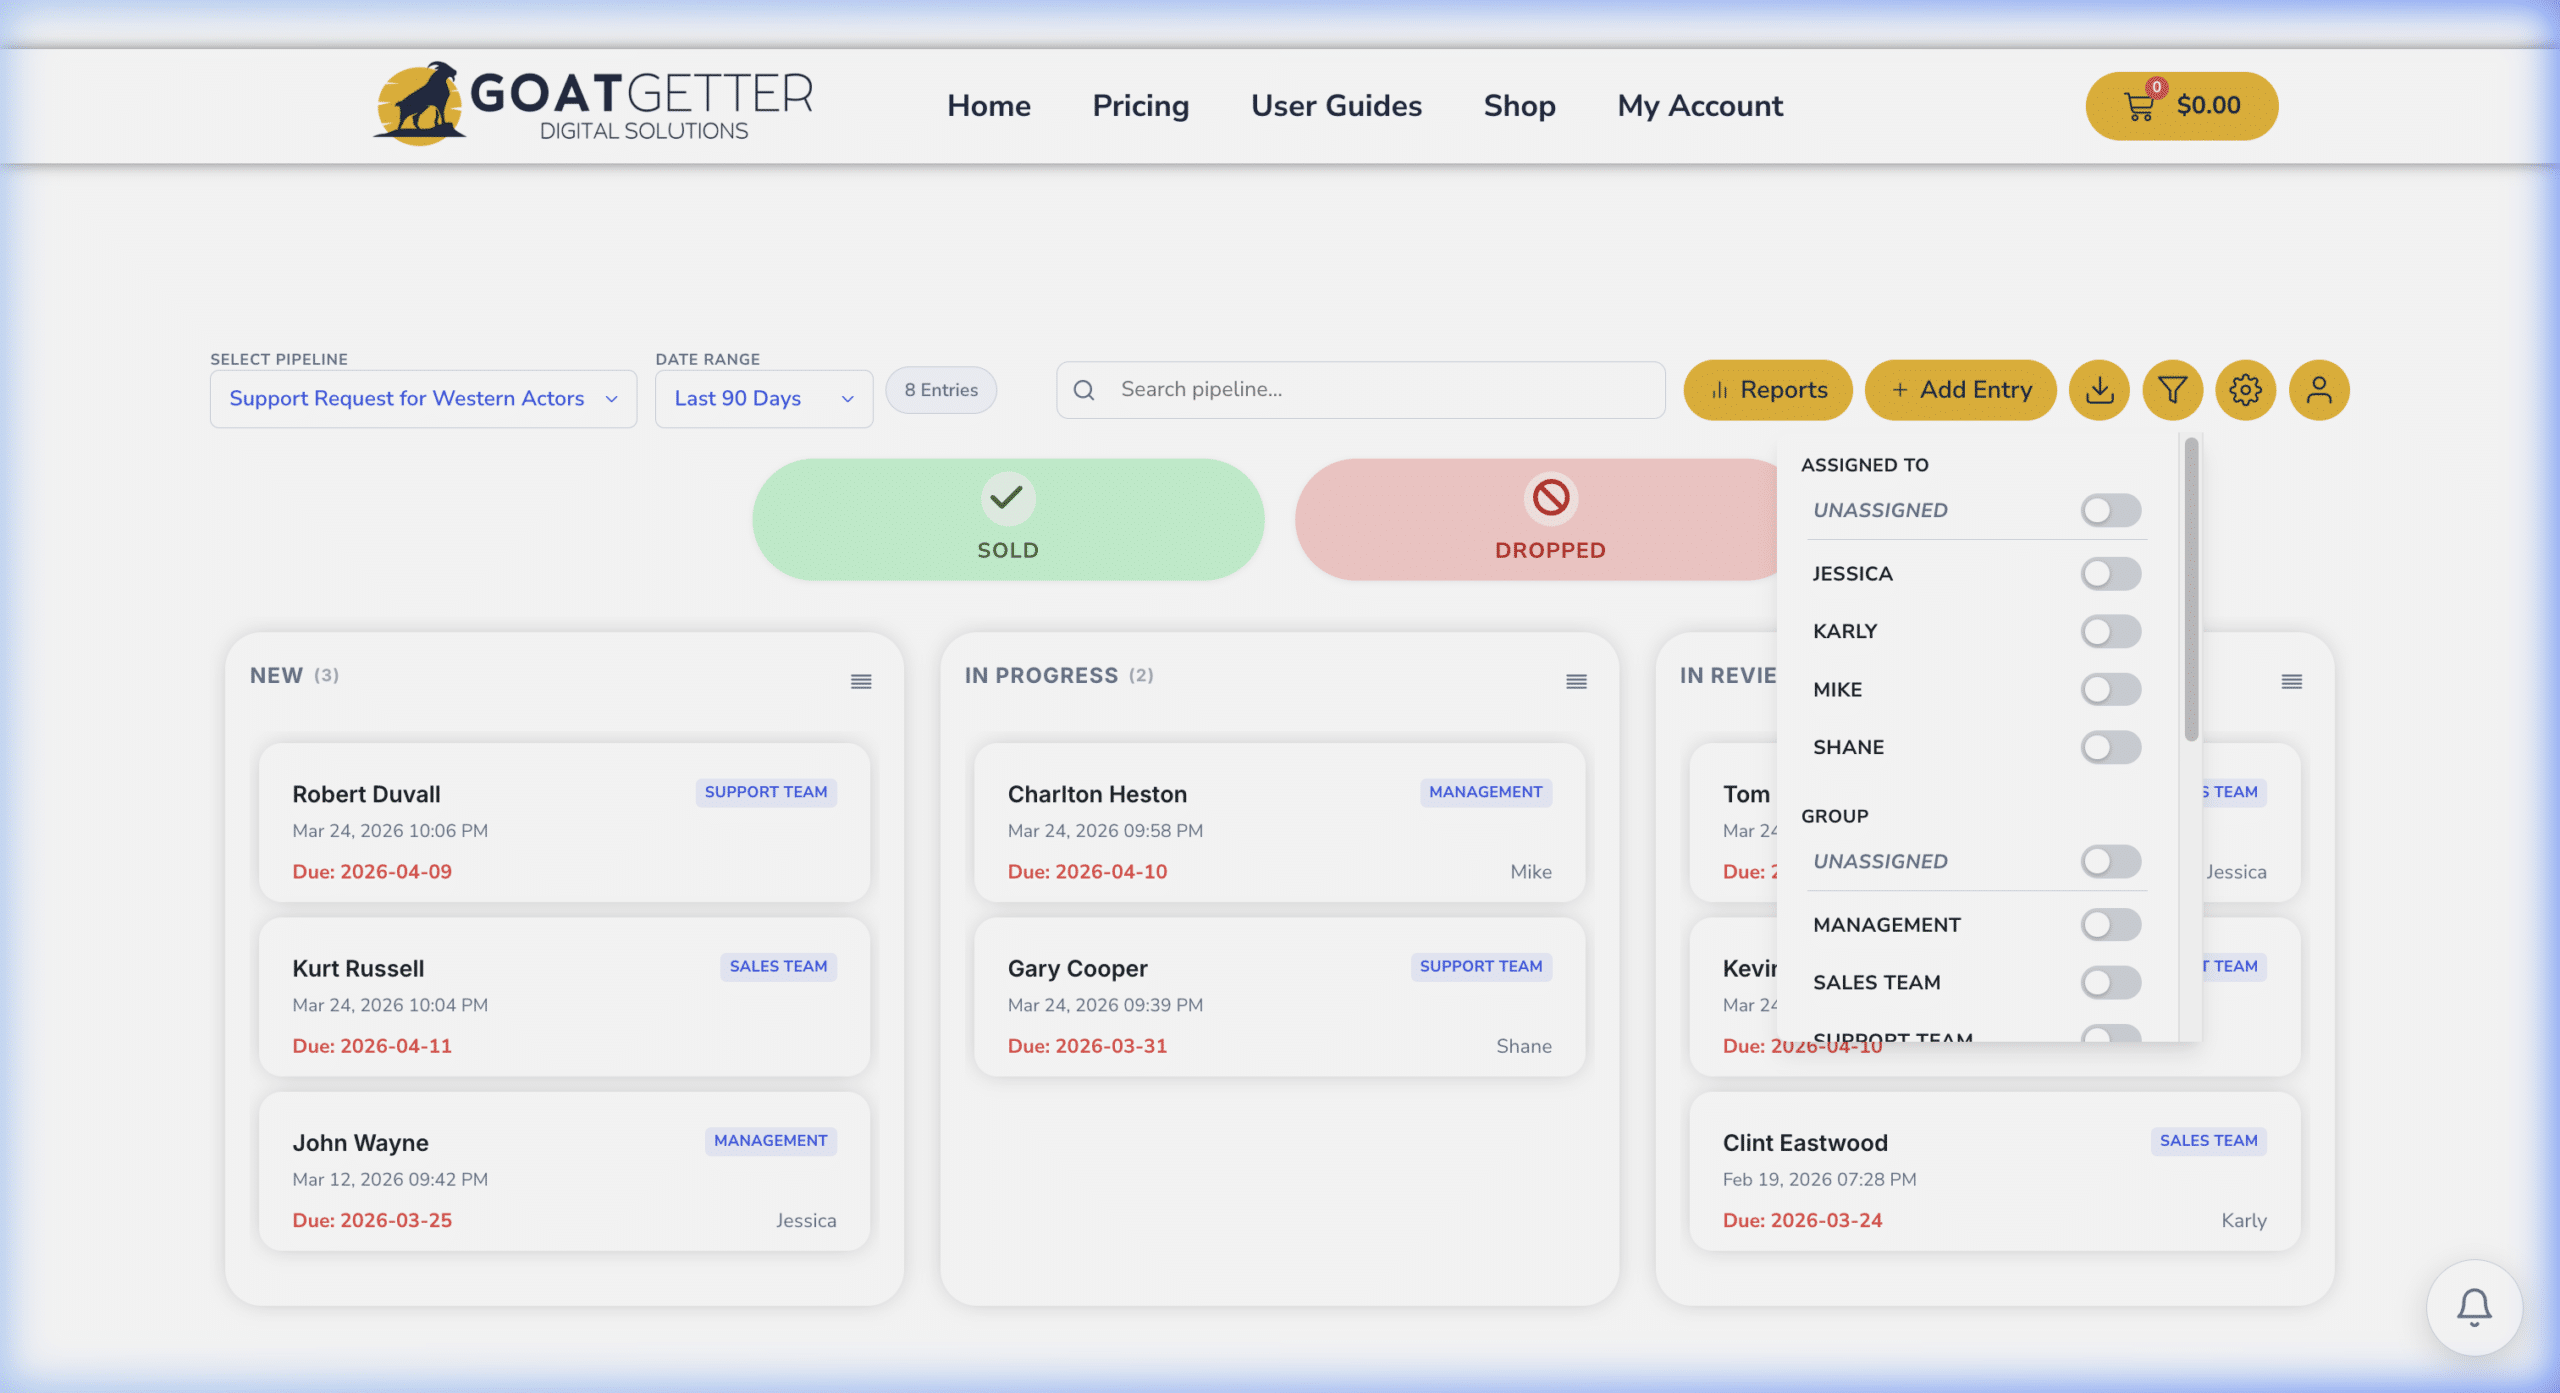
Filtering the Board by Group
On the pipeline board toolbar, use the Group filter dropdown to show only entries assigned to a specific group. This gives team leads a focused view of just their team’s workload.
Using Groups with Permissions
Combine groups with the access control settings — restrict certain users to only see entries assigned to their group. This creates a self-contained pipeline view for each team without requiring separate pipelines.