
A pipeline in Gravity Pipeline is a Kanban board that’s powered by a specific Gravity Form. When someone submits your form, their entry automatically appears as a card on the board. This guide walks through creating your first pipeline and connecting it to a form.
Before You Begin
You need at least one Gravity Form already created. Your form should include a Radio Button or Drop Down field that will represent the pipeline status/stage (for example, a field called “Lead Status” with choices like New, Contacted, Proposal Sent, Closed).
Step 1: Open Gravity Pipeline Feed Settings
- In your WordPress admin, go to Forms and open the form you want to connect.
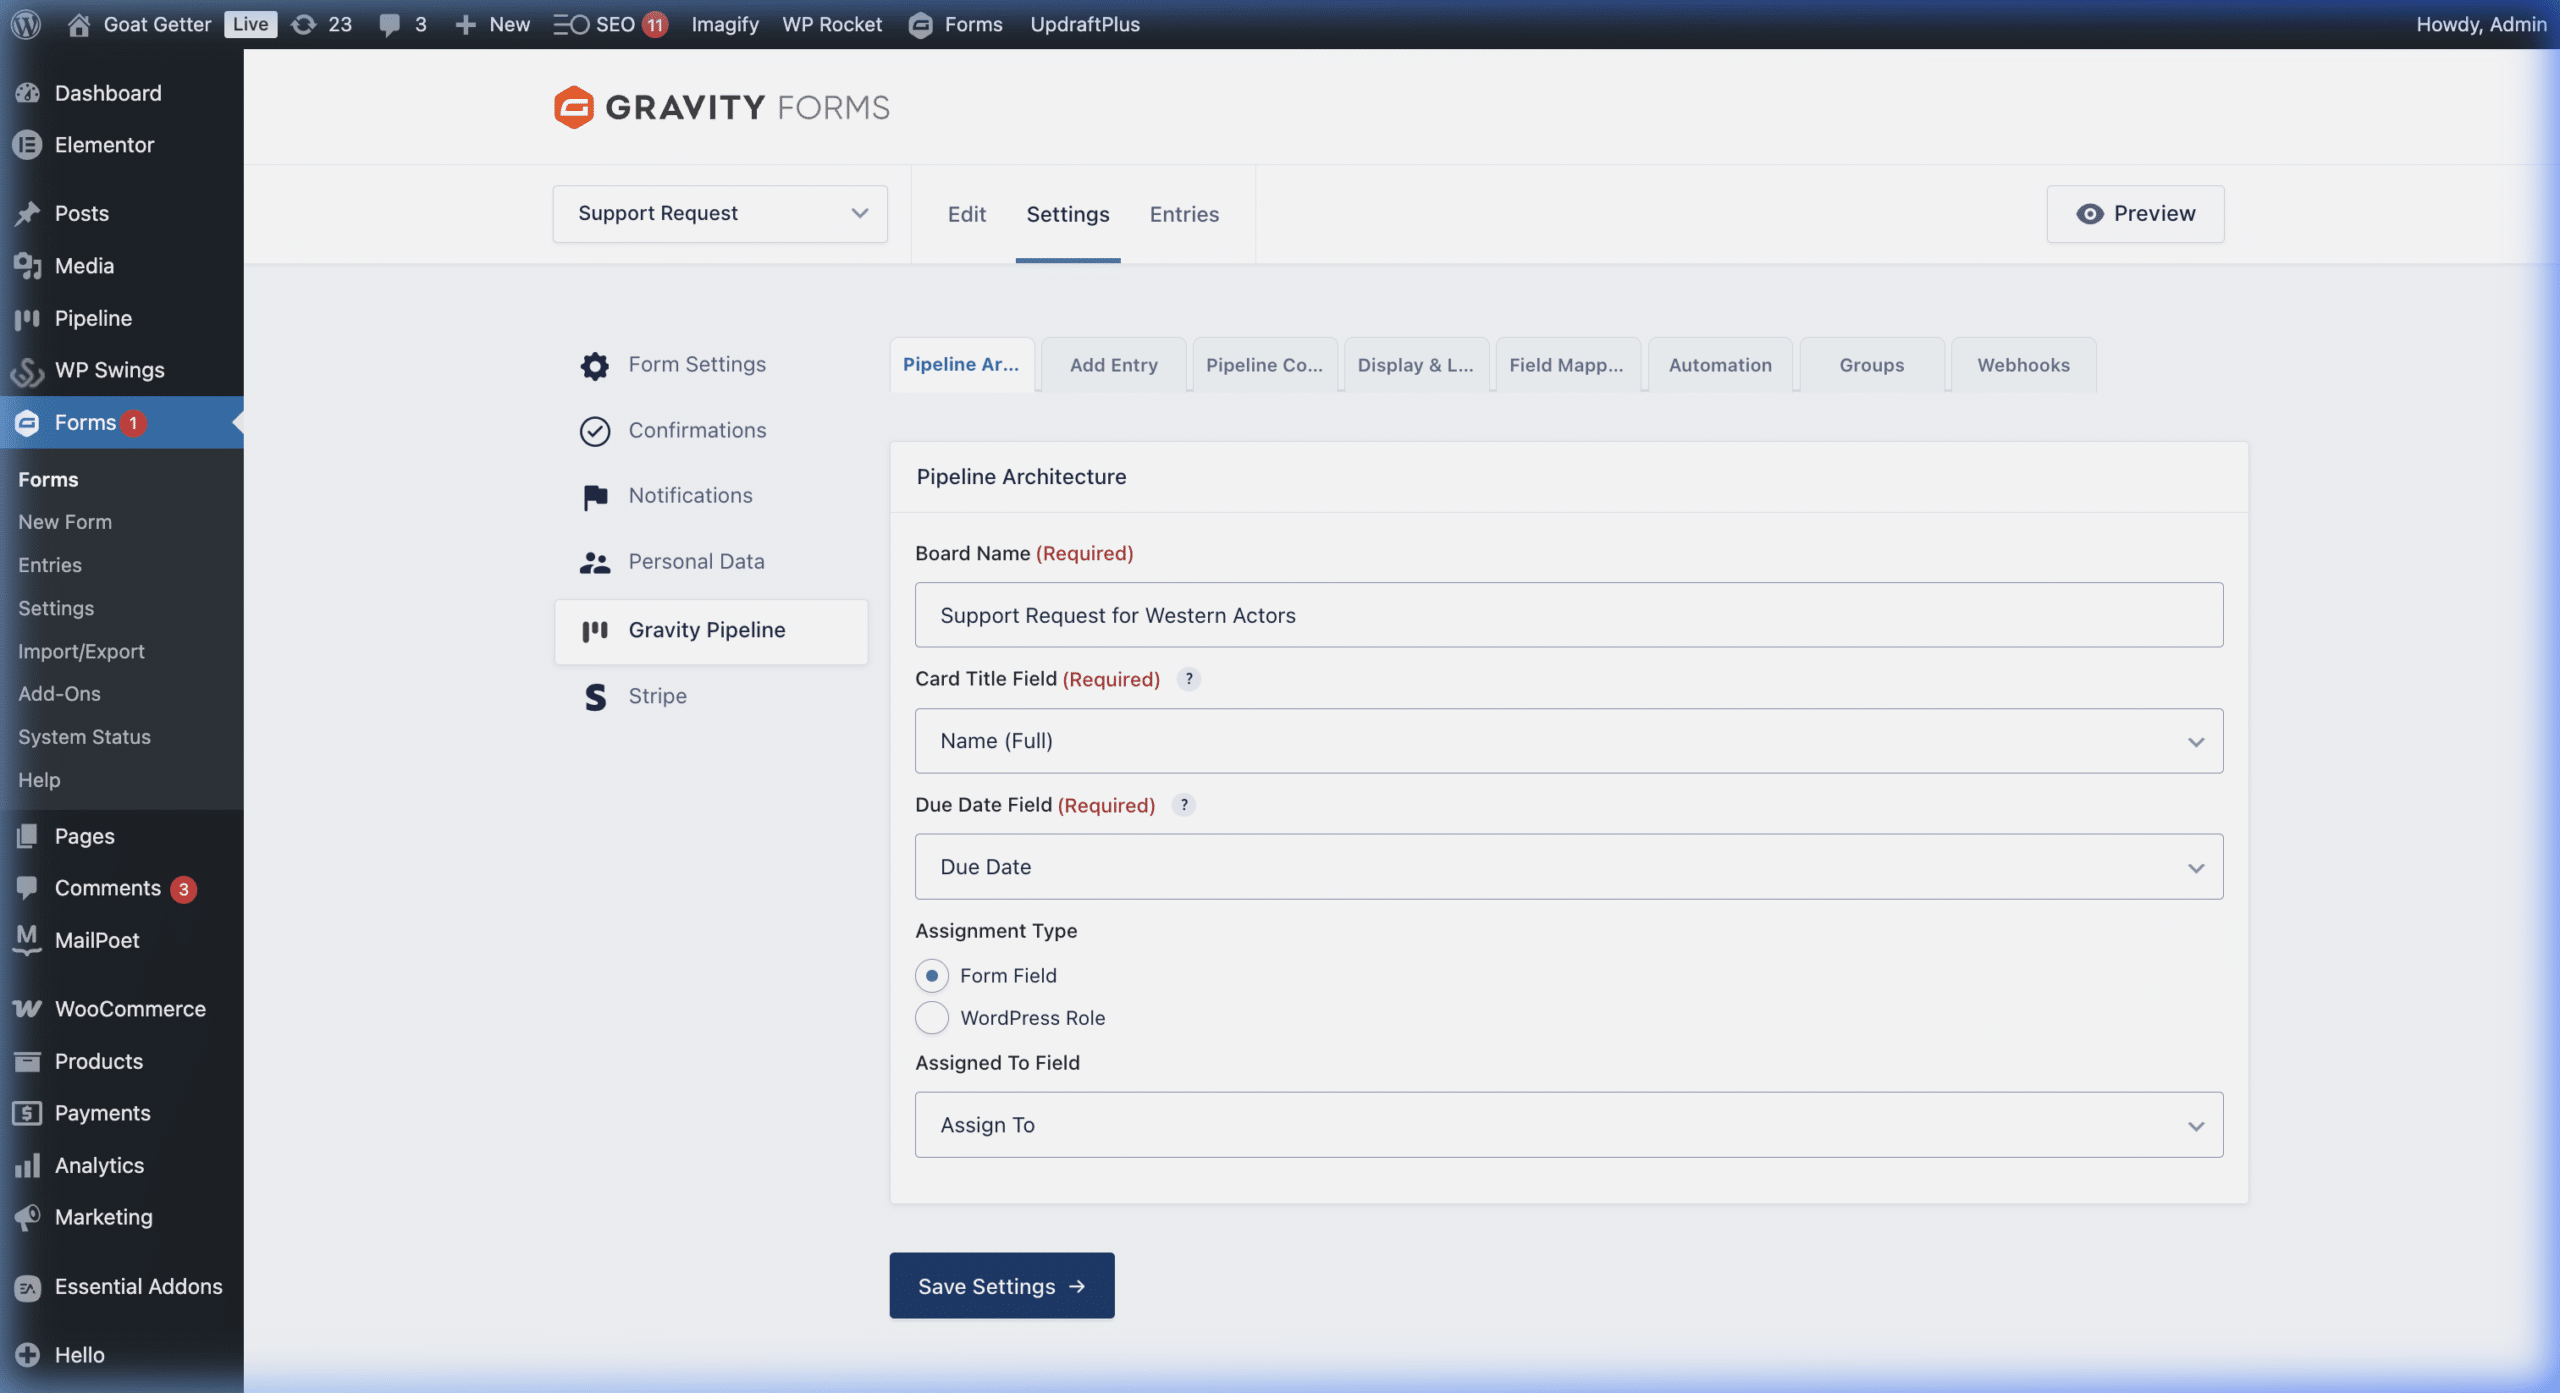
- Click Settings in the form toolbar, then select Gravity Pipeline.
- Click Add New to create a new pipeline feed.
Step 2: Name Your Pipeline
Give your pipeline a descriptive name — for example, “Sales Pipeline” or “Client Intake.” This name appears in the pipeline selector and in any shortcodes.
Step 3: Map the Status Field
This is the most important step. Gravity Pipeline needs to know which form field controls what column (stage) an entry belongs to.
- Find the Status Field Mapping dropdown.
- Select the Radio Button or Drop Down field from your form that represents the stage (e.g., “Lead Status”).
Step 4: Configure Your Columns
- In the Columns section, click Add Column for each stage.
- For each column, set the Column Label (what users see on the board) and the Form Value (the exact choice value from your form field).
- The form value must match exactly — including capitalization — with the choice in your Gravity Form.
Example: If your form has a Radio Button with the choice “In Progress”, set the Column Label to “In Progress” and the Form Value to “In Progress”.
Step 5: Map Card Display Fields
Choose which form fields appear on each pipeline card and in the slide-out detail panel.
- Card Title Field: Usually a name field — this becomes the card’s headline.
- Card Subtitle Field: A secondary identifier like email or phone number.
- Detail Fields: Any additional fields you want visible in the entry slide-out.
Step 6: Save and View
- Click Save Settings.
- Navigate to Forms > Gravity Pipeline in your admin sidebar.
- Select your new pipeline from the dropdown to view the board.
Any existing entries that match your stage mapping will immediately populate the board. New submissions will appear automatically as cards.
Next step: Customize your pipeline stages →